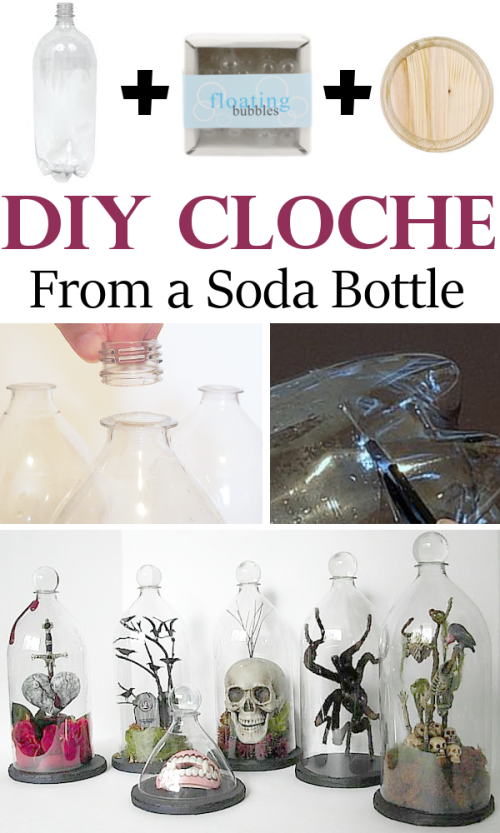
If you’re into the classic, Victorian, and vintage style Halloween decorations, then you’re going to love this tutorial from DIY Home Sweet Home where you can make your own Halloween themed cloche using the simplest of materials. The tutorial only covers making the cloche itself, so filling it will be up to you and your imagination. If you need ideas, then try looking at these terrariums to start! Use your homemade cloche to display Halloween scenes, vintage inspired ephemera, miniatures, and anything else you can think of.
Category: Craft
It’s Dangerous To Go Alone
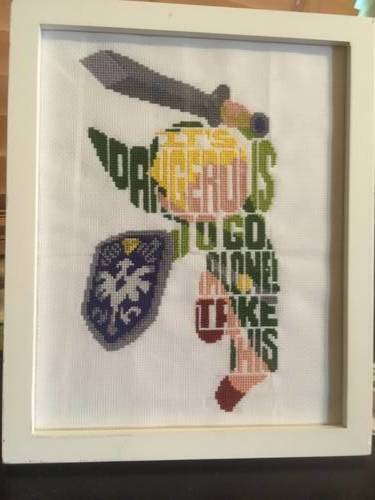
Whew, it’s nice having electricity again, now that Hurricane Matthew is gone! My entirely dark neighborhood made me think of this quote: “It’s dangerous to go alone. Take this!” Unfortunately, we didn’t have Link to guide us.
Meleriffic, of Texas, recently made this Link cross stitched project for her husband for his birthday. The pattern is from StitchLine on Etsy. When she saw it, she knew it was perfect. Her husband loves The Legend of Zelda video game series and often quotes, “It’s dangerous to go alone. Take this.”
Meleriffic been working on it off and on since May, and just finished this a week ago.
Make Your Very Own Bat Mobile
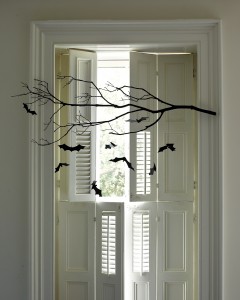
Unfortunately, it’s not four-wheeled Batmobile we’d all love to take a spin in, but rather a Halloween decoration from Martha Stewart.
Peek into your backyard and your art-supply drawer — odds are you have everything you need to make this bat mobile.
Trace her free bat templates onto black card stock; cut them out and fold them according to template instructions. Make a small hole in the center of each bat with a tack. Poke a piece of thread through each hole, and knot it. Tie the bats to a found branch (painting it black is optional). Then hang the branch from two pieces of thread secured to the top of the window with flat thumbtacks.
One pointer I’d like to add: start keeping your eyes open for the right branch weeks before you start your Halloween decorating. When you find the one(s) you like, bring them into a garage or some other climate controlled area, and let them dry out completely. It’s also a good time to check the branches over for bugs. And if you decide to paint your branch, here’s a great tutorial on the best way to do it.
A Spooky Photo Tutorial For You to Try
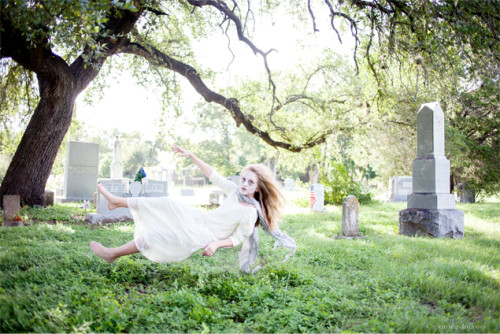
We’ve all seen those spooktacular photos where the subject is somehow levitating. If you’ve wondered on how you can achieve the effect, then this tutorial from Jodie and Jen on Eighteen25.com will give you some great tips. You’ll need a tripod for the best results, and you’ll need to know how to use Photoshop as well (the tutorial is great, but clearly intended for folks who are familiar with the photo editing program already). The possibilities are endless though, and the photo shoot itself would be loads of fun. Kick your Halloween spirit into high gear with this delightful idea, and be sure to share the results with your friends here at Geek Crafts.
More Links of Interest
Make Your Own Halloween Skeleton Fairies
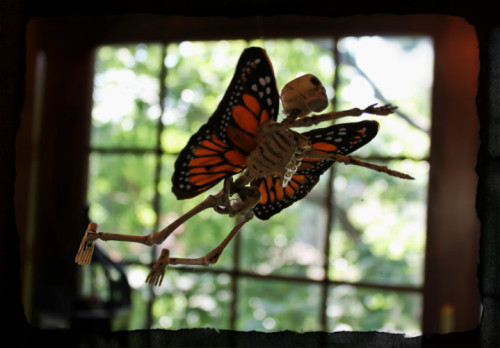
Here’s a tutorial for creating a Halloween decoration that’s really different and unique! Better yet, the materials are super cheap. The skeleton is from the Dollar Tree (and comes in a pack of 4!), and the butterfly wings are from a craft store. The only other materials you need are things you probably already have: some black paint (for aging the bones a little and darkening the eye sockets), scissors, and a hot glue gun. I’m thinking I might need an army of these little guys . . . .
More Links of Interest
Floral Cross-Stitch Street Installations
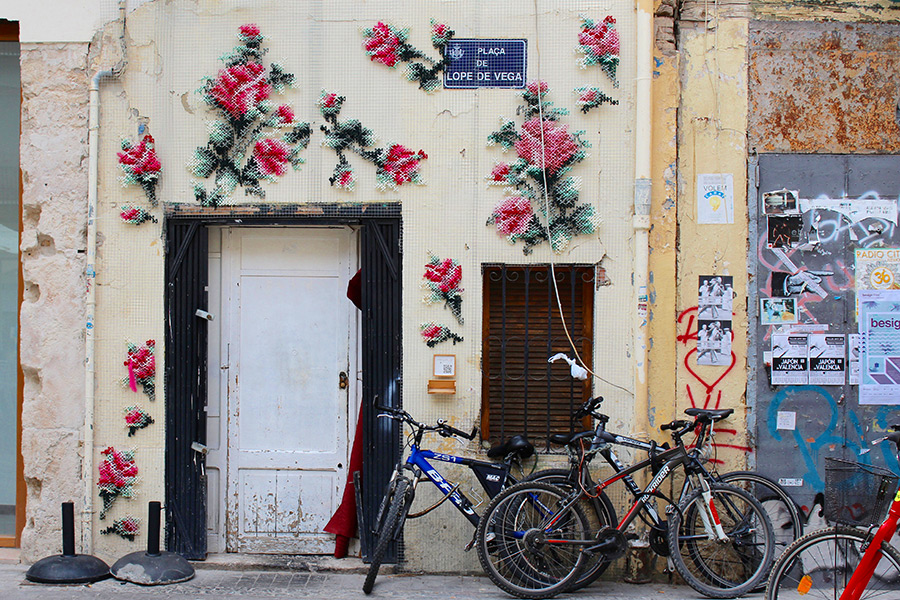
Raquel Rodrigo has created some amazing large scale floral cross stitch street artworks. This needs to become as popular as yarn bombing was.
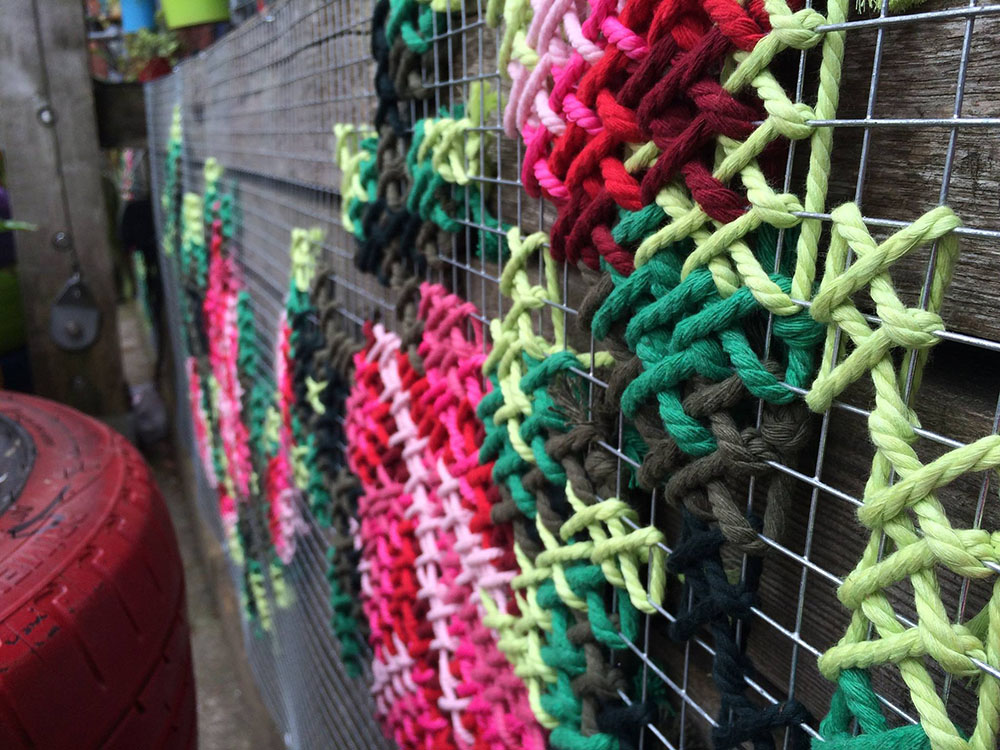
Set designer and artist Raquel Rodrigo brings the macro details of cross-stitch embroidery to building facades around Madrid. Her colorful installations are prepared beforehand with enlarged cross-stitch techniques utilizing thick string wrapped on wire mesh before each is unrolled and affixed to a surface. The decorative pieces create a fun, pixelated texture that looks completely different close up versus at a distance.
