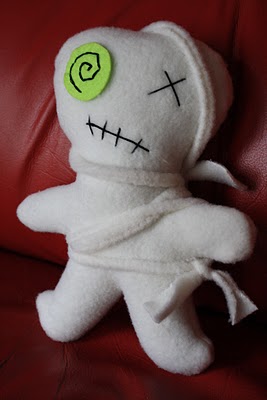
I just spent the weekend selling my handmade goodies at TopCon, a small pop-culture convention in Topeka, KS. One of the guests, Mike Mundy, was a zombie on The Walking Dead, so there was a lot of zombies hanging around this weekend. All those undead inspired me to share this great tutorial on making your own zombie plushie on the blog Heidi Boyd. This tutorial offers more inspiration than actual techniques, but if you’re familiar with basic hand sewing skills, you’ll have no problem making your little Zombie Plushie friend to hunt down brains with. You could even mix it up a bit and use different colored fleece, felt scraps, and embroidery floss. The tutorial offers up a great, basic starting point for your imagination to take over. Be sure to share your adventures in zombie making with us!
Category: Toys
Settle in for some crocheting
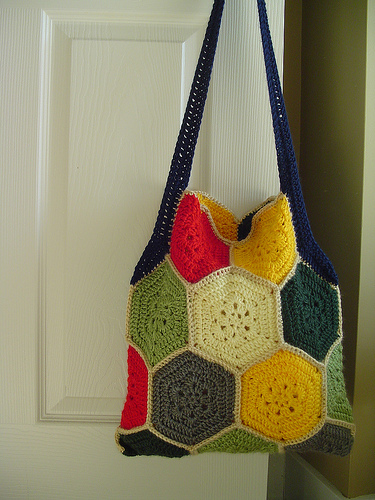
I’m not a big gamer (video or otherwise), but my son enjoys playing a variety of board and card games with his friends. One of his favorites is Settlers of Catan (or just Catan now, apparently). So my interest was piqued when I saw this crochet Catan hexagon bag by Becky Simmons.
She developed a quick hexagon motif that she stitched up in Catan colors and assembled 19 into a bag that she uses as a project bag. I like it because it’s a subtle geeky reference not everyone would recognize.
Becky also has some neat motif afghans in her Ravelry shop – I liked her Fireworks and Nebula blankets.
Are you a Settler of Catan? What other board games do you enjoy? Let us know in the comments below!
- Settlers of Catan bag pattern on Craftster
- More board games crafts on GeekCrafts
- More crochet crafts on GeekCrafts
Make Your Own String Dolls!
I was hanging out with my best friend and her family, including two very rambunctious boys, and we were at a big toy store when my friend found this really fun looking kit for making string dolls. But the kit was $20, and we both kinda cringed at the price and put the kit back on the shelf.
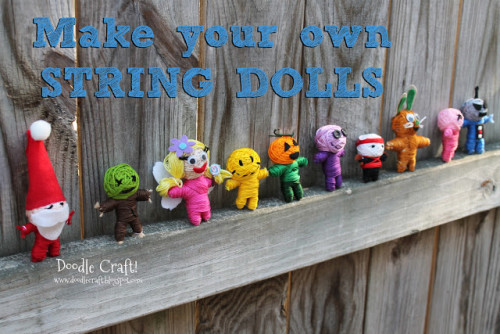
However, it got me thinking, somebody out on that world wide web has had to have posted a tutorial on how to make these super cute little guys! A quick Google search, and lo! It seems the most excellent Natalie over at Doodle Crafts has got this DIY covered!
Unlike a lot of tutorials I saw, she uses pipe cleaners and a wooden bead for the string dolls’ bodies. Other tutorials used heavier gauge wire and bits of styrofoam (or nothing at all for the base of the head). Natalie also uses regular old white glue to secure the string onto the base form, whereas other tutorials use super glue (or other heavier duty adhesives). I haven’t tried making one yet, but I certainly plan to. It seems to me it would be best to experiment with whatever materials you have on hand and see what works best for you when creating your new little string doll best friend! I would guess that different materials would have different staying powers and durability.
Have you ever made one of these cute little guys? What materials did you use?! How did yours turn out!? Be sure to share in the comments below!
More Links of Interest
Pokémon Amigurumi – Pin of the Week
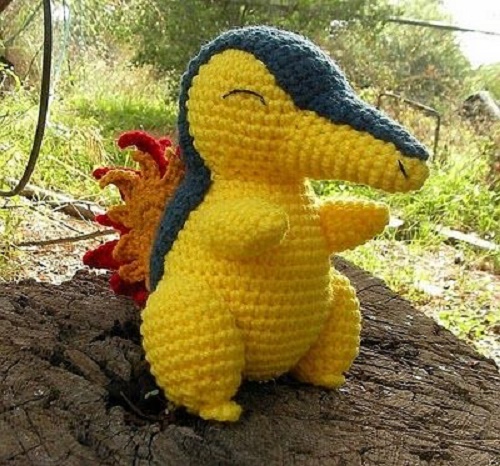
I actually came across Wolfdreamer‘s crochet patterns a few years ago, and I think they’re fantastic. This gorgeous Cyndaquil just popped up on my pinterest and I had to share it, as well as her other patterns, with you all. She not only has dozens of free Pokémon crochet patterns, she also has patterns for Sonic the Hedgehog, Mario Bros, and lots of other wonderful characters to crochet. Thank you, Wolfdreamer, you’re awesome!
Baby Geekery
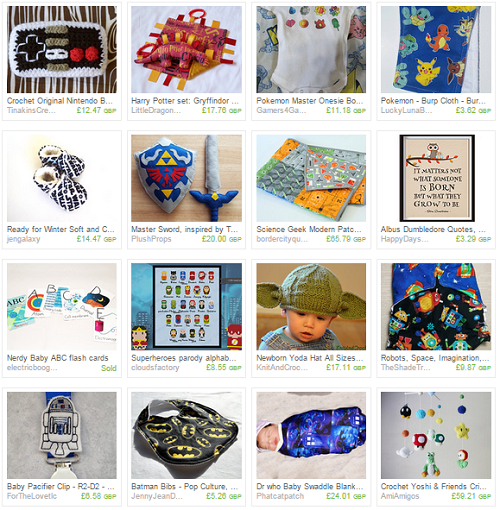
In celebration of my sister having her first baby, I have collected some of my favourite geek crafts for babies.
There are some amazing baby crafts available on Etsy. Some of these are super cute! There are hundreds of things there that I love, but these are just a few of my favourites.
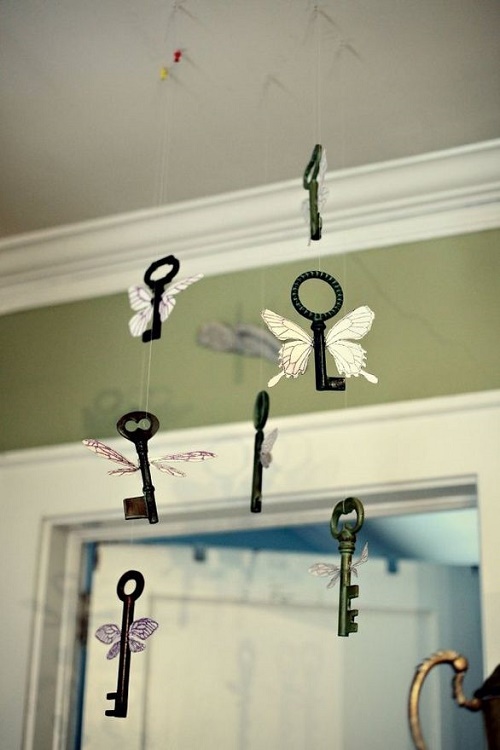
How about some Harry Potter inspired keys flying around the ceiling, you just have to catch the right one!!
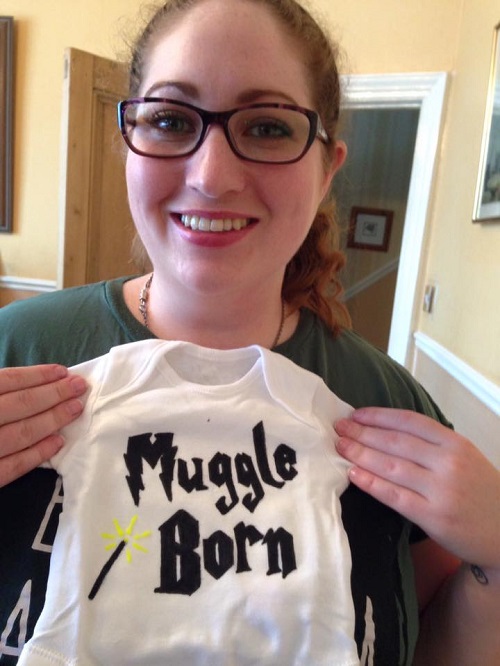
And what do you think of this onesie I made for my new baby niece? I can’t wait to educate her in geekery as she grows up!
Huggable Monster Dolls for Kids in Need
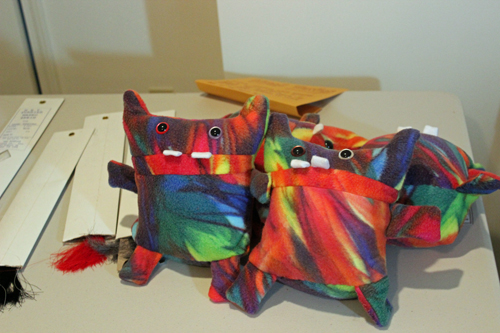
A Monster to Love is this great online shop where, for every cute little monster doll you buy, Sam, Ben, and their dad Ray, donate a monster doll to a kid in need. They partner up with children’s hospitals and even the World Relief Refugee program out of Atlanta.
I ran across their awesome work about a year ago on Craftsy, including a pattern to make your own monsters to donate to local kids in need, or send off to Ray and his boys in Colorado so they can donate the cuddly little monsters to kids in need.
Interested? Here’s the A Monster to Love PDF Pattern and Instructions. Ray and his boys take donations year round, and you can send them one monster, or one hundred. It’s up to you!
I try to organize a Monster Making Party at least once or twice a year–they’re fun, and pretty easy to do. Here’s how:
1. I buy a couple yards of fun colored fleece fabric when it’s on sale (usually in the summer). You can get quite a lot of monsters out of a yard of fleece, or even half a yard. Just be sure to shop when it’s on sale! Along with fabric, I’ll pick up a box of stuffing when it’s on sale too (or with a coupon). One box can last a long while and stuff a lot of monsters (probably around 30). I’ll also purchase Safety Eyes for the dolls, which can be attached before sewing, and don’t require any sewing knowledge to install. I purchased my Safety Eyes here, but there are tons of vendors and craft stores out there that sell them. The 18mm sized ones are what I used, and I liked to mix and match colors too. 15 pairs of eyes cost about $15. You can also use buttons for the eyes, but make sure they are SEWN on really well. If the eyes are not sewn on securely, Ray and his boys can’t use them. Do not glue on eyes. Ray and his boys can’t use the monster dolls if the eyes have only been glued on (hello choking hazards!).
All in all, I spent about $40 on supplies for making the monsters, but I did it over the course of a couple of months.
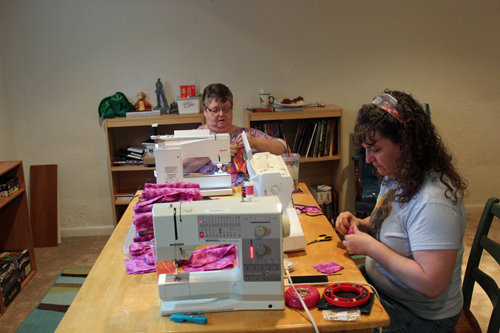
2. I set up a FB event and ask folks to bring their own sewing machines if they’ve got them, but I also tell folks that there’s plenty of other ways to help too: attaching eyes, stuffing, cuddle testing, and hand stitching are great ways to get even the most novice of crafters involved in a Monster Making Party. Along with the fabric, stuffing, and safety eyes, I also bring along thread, scissors, and hand sewing needles for people to use. If you’re worried about materials cost, you can always ask people to pitch in a couple bucks to help out.
3. I cut out at least some monsters before the party so there are dolls ready to be sewn. I also set up stations for people to work at installing eyes, stuffing the monsters, and hand sewing the monsters closed after stuffing, and even cutting out more monsters if necessary.
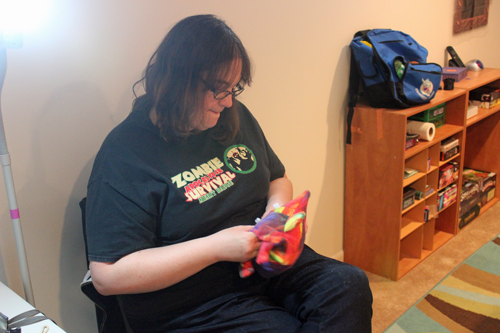
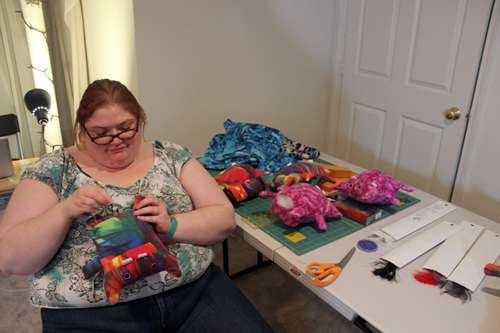
4. We have music playing, and I ask folks to help out with some food (like chips and dip, cupcakes, and frosty beverages). And I invite folks to come when they can and stay as long as they’d like to. It’s a fun way to spend an afternoon or evening.
5. I’ve found three hours to be a great length of time for a Monster Making Party. You can get a lot done, have time to chat, and still steal a cupcake too. Once the party’s over, you’ll want to box up your magnificent creations and mail them off to A Monster to Love! Their address is on the last page of the PDF.
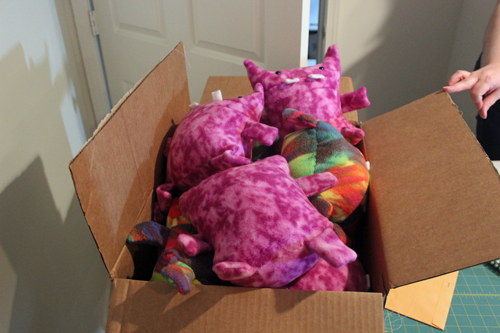
If you have your own Monster Making Party, be sure to take pictures and share!!!
More Links of Interest
- A Monster to Love: check out this great online shop and see where they’ll be selling their cute little monster dolls next!
- Check out the story about A Monster to Love on Craftsy
- A Monster to Love PDF Pattern and Instructions
- More plushy DIYs on Geek Crafts
- More charities on Geek Crafts
- More monsters on Geek Crafts
