Make an Upcycled Doctor Who Tote Bag

Upcycled-Clothing-Project-Doctor-Who-Bag

With the holidays over, school’s definitely back in session.  Why not dress up your everyday look with a fun DIY Doctor Who Inspired Tote Bag made upcycling clothing? Elizabeth Hudec on DIY Ready has got a tutorial on making this fun bag using a tweed jacket, button down dress shirt, bow tie, and couple of belts (for the straps).  And if you were feeling adventurous, you could probably take the leftover sleeve parts and make pockets for the inside! A-llonsy!

More Links of Interest

It Began With a Pair of Shoes…

doctor shoes

Gabrielledeschain posted these shoes she painted for her oldest daughter.

Her daughter found a pair online that she liked and sent over a picture. But alas, these $80 shoes from Colorado weren’t in Mom’s budget, since Mom’s unemployed because of her health.

But like any good mom, Gabrielledeschain wasn’t going to let that stop her. Gabrielledeschain’s mom even got involved by purchasing a pair of plain white shoes. And because Gabrielledeschain already had the paints, she got to working. Her series of photos on Imgur serve as a creative tutorial on how you could paint your own pair of Doctor Who shoes, customized for your favorite Doctor.

Geek Manicures: Nerd Out with Nail Art

Battlestar Nails by Jacki-Adventures in Acetone

With all the interest in unique manicures these days, I love seeking out ways to add geek flair to my nails. So does Jacki at Adventures in Acetone. She has put together a variety of geek manicure tutorials, from the Battlestar Galactica-inspired Starbuck’s mandala seen above, to cute aliens, to multiple Doctor Who-inspired themes, to a cool galaxy.

Each tutorial walks you step by step through the process, with detailed photos and a list of specific nail polish brands and colors.

Have you tried out any geek manicures? We’d love to see your results! Share a link in the comments below!

Links of Interest:


Geek Girl Brunch + Comic Book Ornaments

Geek Girl Brunch

I don’t think I’ve yet shared the awesomeness that is Geek Girl Brunch. I discovered it via the Female Geek Bloggers G+ Community, and was immediately intrigued. Ladies getting together to share brunch, drinks, and geek-talk? Sign me up!

The group started in New York City, with its own meetups. They had so much fun together that they decided to roll out chapters, not only across the U.S but worldwide! Sensing I had found my geek tribe, I signed up to be notified about news of the Kansas City chapter. I got an email a few months later notifying me that chapters were forming, and would I like to be an officer to help launch the KC chapter? Because I love my hometown and want to nurture its geek culture, I said yes!

We had our first brunch in July – an informal meetup at the Cheesecake Factory, followed by Star Wars Day at Barnes & Noble. In September we gathered at the Renaissance Festival and strolled the grounds together. Other chapters have enjoyed a wide variety of themes, from a Zombie Crawl to a Xena-themed yoga session to a Pixel Perfect ode to video games.

Next week is KC’s third event, with a “Let’s Get Crafty” theme. My co-leader, another brunchette, and I are each leading a geek-craft. My craft is comic book ornaments, as seen in the examples below. I figured it was an easy introduction to decoupage, but infinitely customizable to whatever comic brunchettes might favor, along with whatever ornament base they might choose.

Comic Book Ornaments by Angie Pedersen

Basic instructions:

  1. Select ornaments in shapes that will showcase an identifiable amount of comic art, in shapes that should be easy to cut out.
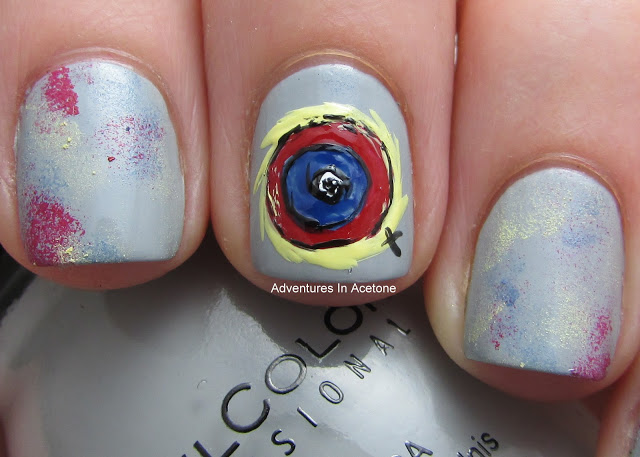
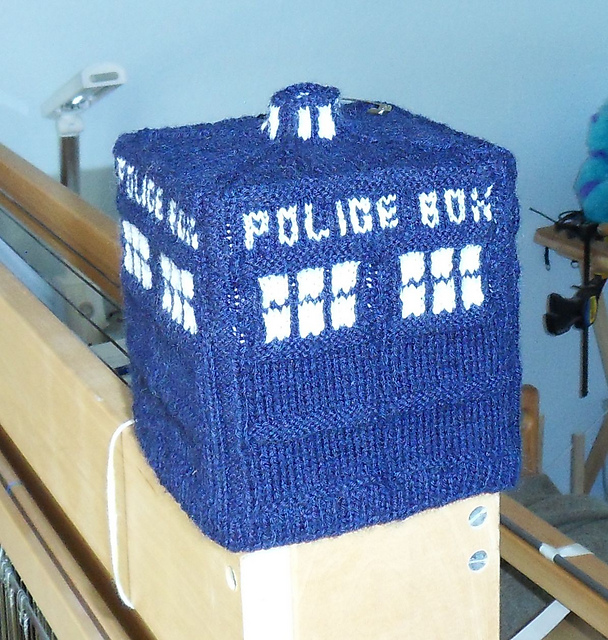
  2. Page through your comics for images that will fit your ornament. TIP: If the image you want is too big, you can scan it and resize to fit your ornament. That’s what I did for the Dr. Horrible cube above.
  3. Place the ornament on top of the comic page and trace around it. Cut out with scissors.
  4. Brush Mod Podge (I used matte, but glossy would also work) on the ornament and position the comic cut out on top. Smooth out any wrinkles (a brayer helps here).
  5. Brush a coat of Mod Podge over the surface of the comic image to seal.
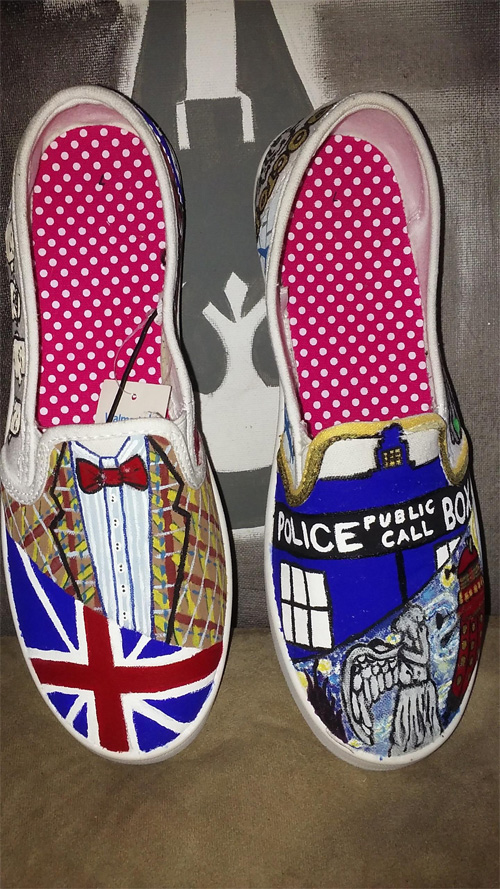
  6. Optional: embellish the edges of the ornament with decorative washi tape (see Buffy example above) or acrylic paint (see TARDIS example above). For the Dr. Horrible cube, I colored the top of it with a bronze metallic Sharpie (top not shown).

I hope you will check out Geek Girl Brunch and join in on the fun! If you’re in the KC area, stop by and say hi!

Links of Interest:

Optimus Prime + The TARDIS = Awesome.

tardis-transformer-1

I love Transformers. I love Doctor Who.  So, what’s not to love about a 3-D printed, actual working/transforming Tardimus Prime??!! Seriously.  What’s not to love? Inspired by Jason Casteel’s TARDIS Prime artwork, user Ellindsey designed and created this 3-D printed realization, and it actually transforms.  What’s even cooler is you can find Ellindsey’s CAD files and instructions for building your own. Oh, for a 3-D printer.  Even you don’t have one, you should definitely check out the link for the additional pictures.  Transform and roll out!

The Doctor says bless you!

TARDIS tissue box cover by Charla Henney

In honor of the recent Doctor Who premiere, AND I Love Yarn Day (coming up on 10/17), I bring you a Doctor Who knitting project: a TARDIS tissue box cover by Charla Henney.

I love the clever design that allows you to pluck tissues from the little light beacon at the top.

How are you liking the new season of the Doctor? How will you honor I Love Yarn Day? Share with us in the comments below!

Links of Interest: