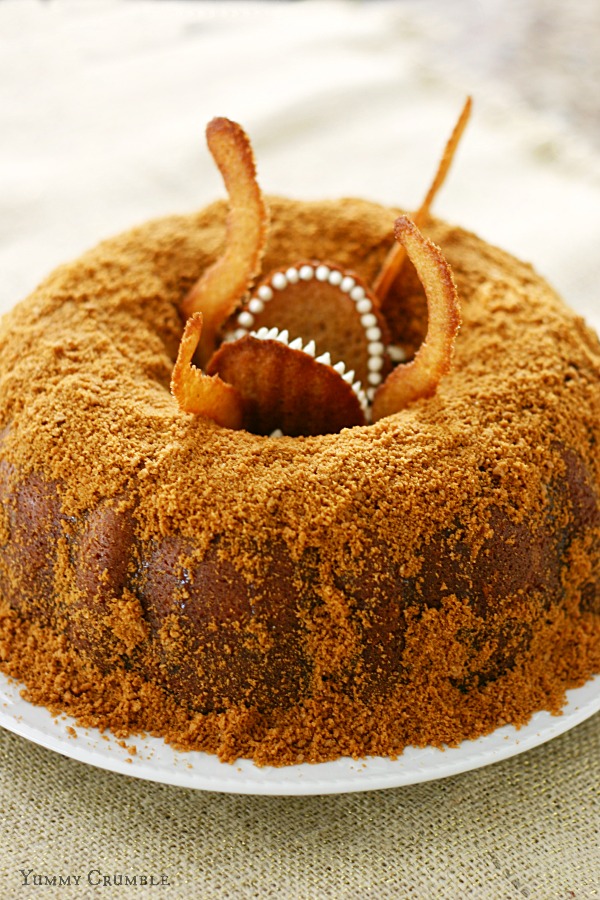
She recreated the omnivorous creature from “Return of the Jedi” in cake form, complete with little almond sliver spikes inside the center and cookie batter tentacles. I think the teeth she added are the icing on the cake (ahem – they’re made from frosting, after all…).
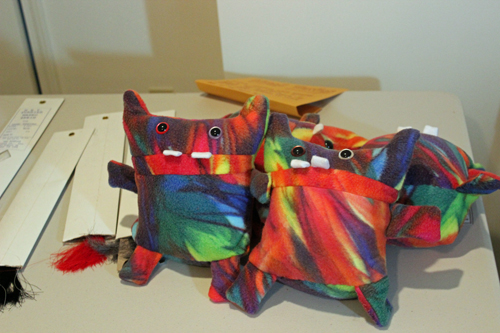
A Monster to Love is this great online shop where, for every cute little monster doll you buy, Sam, Ben, and their dad Ray, donate a monster doll to a kid in need. They partner up with children’s hospitals and even the World Relief Refugee program out of Atlanta.
I ran across their awesome work about a year ago on Craftsy, including a pattern to make your own monsters to donate to local kids in need, or send off to Ray and his boys in Colorado so they can donate the cuddly little monsters to kids in need.
I try to organize a Monster Making Party at least once or twice a year–they’re fun, and pretty easy to do. Here’s how:
1. I buy a couple yards of fun colored fleece fabric when it’s on sale (usually in the summer). You can get quite a lot of monsters out of a yard of fleece, or even half a yard. Just be sure to shop when it’s on sale! Along with fabric, I’ll pick up a box of stuffing when it’s on sale too (or with a coupon). One box can last a long while and stuff a lot of monsters (probably around 30). I’ll also purchase Safety Eyes for the dolls, which can be attached before sewing, and don’t require any sewing knowledge to install. I purchased my Safety Eyes here, but there are tons of vendors and craft stores out there that sell them. The 18mm sized ones are what I used, and I liked to mix and match colors too. 15 pairs of eyes cost about $15. You can also use buttons for the eyes, but make sure they are SEWN on really well. If the eyes are not sewn on securely, Ray and his boys can’t use them. Do not glue on eyes. Ray and his boys can’t use the monster dolls if the eyes have only been glued on (hello choking hazards!).
All in all, I spent about $40 on supplies for making the monsters, but I did it over the course of a couple of months.
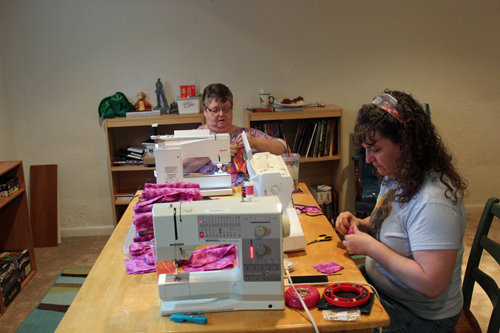
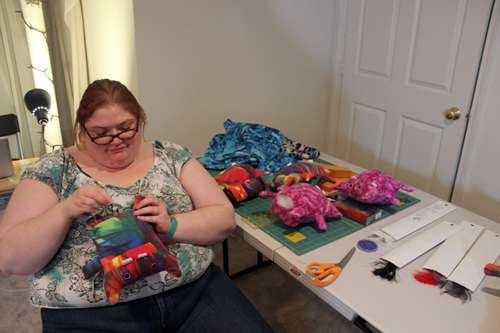
Angie brought her own sewing machine and helped build a couple monsters. That’s my mom in the background stitching away madly.
2. I set up a FB event and ask folks to bring their own sewing machines if they’ve got them, but I also tell folks that there’s plenty of other ways to help too: attaching eyes, stuffing, cuddle testing, and hand stitching are great ways to get even the most novice of crafters involved in a Monster Making Party. Along with the fabric, stuffing, and safety eyes, I also bring along thread, scissors, and hand sewing needles for people to use. If you’re worried about materials cost, you can always ask people to pitch in a couple bucks to help out.
3. I cut out at least some monsters before the party so there are dolls ready to be sewn. I also set up stations for people to work at installing eyes, stuffing the monsters, and hand sewing the monsters closed after stuffing, and even cutting out more monsters if necessary.
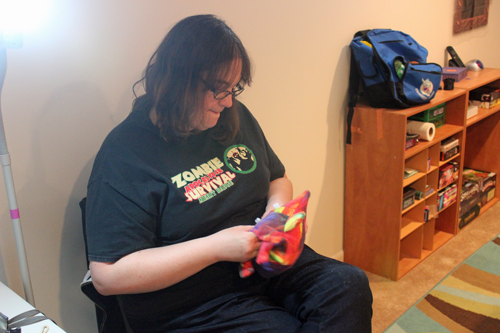
Here, my friend Chrystal is stuffing a monster.
Eunice is hand sewing the monster closed.
4. We have music playing, and I ask folks to help out with some food (like chips and dip, cupcakes, and frosty beverages). And I invite folks to come when they can and stay as long as they’d like to. It’s a fun way to spend an afternoon or evening.
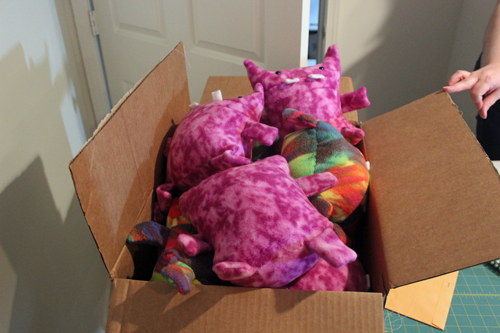
5. I’ve found three hours to be a great length of time for a Monster Making Party. You can get a lot done, have time to chat, and still steal a cupcake too. Once the party’s over, you’ll want to box up your magnificent creations and mail them off to A Monster to Love! Their address is on the last page of the PDF.
All our Monsters boxed up and ready to go!
If you have your own Monster Making Party, be sure to take pictures and share!!!
More Links of Interest
A Monster to Love: check out this great online shop and see where they’ll be selling their cute little monster dolls next!
Check out the story about A Monster to Love on Craftsy
I’ve always thought those Monster High dolls were pretty unique, but then I saw what FreakieGeekie, a crafster from Louisiana, did with a Deuce Gorgon doll on Craftster!
She removed Deuce’s “snake-hawk” and molded hair, his face-up, and the tattooing on his left arm. Daryl’s new face was painted using watercolors then sealed.
Daryl’s hair is made from a long pile faux fur, his shirt is a poly-cotton remnant, and his jeans are a denim remnant. His vest started its life as a doll’s leather jacket and the wings on the back are made of iron on fabric and were hand-drawn then outlined in Sharpie. His clothes are all hand-sewn and the worn look on his jeans was achieved by rubbing them down with coarse sandpaper. His crossbow is made of a wooden dowel, plastic canvas covered with yarn, hemp cord, a piece of bamboo skewer, and a bit of cardboard; the wooden and cardboard bits are painted with black acrylic paint. His bolts are made from slivers of plastic canvas and little bits of felt.
His motorcycle was a gift from Freakie’s sister. It’s from the Bratz Boyz “Motorcycle Style” Cade doll. Freakie repainted it so that it would look like Daryl’s motorcycle. The crossbow is just propped on the motorcycle.
Category: Comics, Craft, Geek, Girly, TV | Comments Off on Modifying a Monster High Doll
I don’t know about the rest of you, but when I was young, I always wanted a big scary monster to be my friend and carry me around (I wanted a Luck Dragon so bad!). Although I never found any wandering dragons, I have found new ways to create big, lovable monster friends!
While studying abroad in Scotland a few years ago, I got to visit Loch Ness, and, of course, kept an eye out for any sign of long-necked Nessie. I didn’t spot her then, but Hannah from We Lived Happily Ever After has created a great version of her!
Made with only 1.5 yards of felt and some stuffing, (she suggests using the tons of plastic bags that we all have – which is a brilliant idea), this Nessie is big enough for a two-year old to ride, and would make the perfect addition to any geek’s toy room. Full details, great pictures, and a tutorial are available at her website.
The next project is especially for any cephalod-lovers out there! Less expensive than finding one in the deep blue sea, Emily over at the Philadelphia Weekly blog posted patterns for how to sew your own 8-foot giant squid pillow.
Emily recommends 2 yards of felt, 1 yard of polka-dot type fabric to serve as suckers, and 5 lbs of stuffing. If anyone completes this, she’d love to see pictures – email her at eguendelsberger@philadelphiaweekly.com. You can also find the tutorial on Tumblr as well.
Who is your favorite monster? Sully from Monsters Inc.? Ludo from Labyrinth? Falkor from the Neverending Story? Let me know in the comments!
Allen Hopps of Mesquite TX, also known as Slilt Beast Studios, is an imaginative designer, actor, and sculptor who is driven by an incredible passion for the haunted attraction industry. Well known for “thinking outside of the box,” Allen is constantly looking outside of the Haunted attraction industry for products and techniques that can be adapted or remade to fit the need of Haunted attractions.
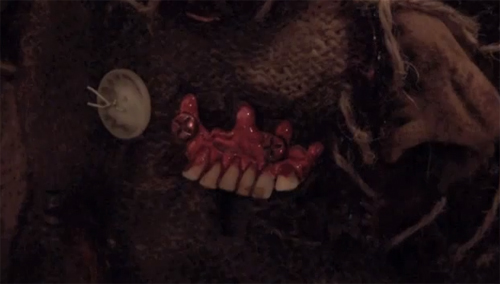
With just two colors of hot glue sticks, Allen has a video tutorial that shows you how to make prop teeth for sets, costumes, props, and masks.
For a list of Allen’s other tutorials, check out his website. Get cracking on your Halloween and haunt decorations now…you’ve only got 363 days until next Halloween!
You probably don’t have time to construct something like this before Halloween on Thursday, but this Sulley from Monsters Inc. costume is really well done, so had to be shared.
Posted on Instructables by user wmorey37, Sulley was put together using chicken wire, paper, glue, felt, fur, tube, old shoes, paint, duct tape, bouncy balls, bubble wrap and a hula hoop. Impressed? Head over to Instructables.com to check out how it was done.
Acknowledging that it is already one day to Halloween, however, if you are still looking for costume ideas that you have some chance of pulling off before the big night, perhaps you should check out these 15 Last-Minute, Inexpensive, Geeky Halloween Costume Ideas.