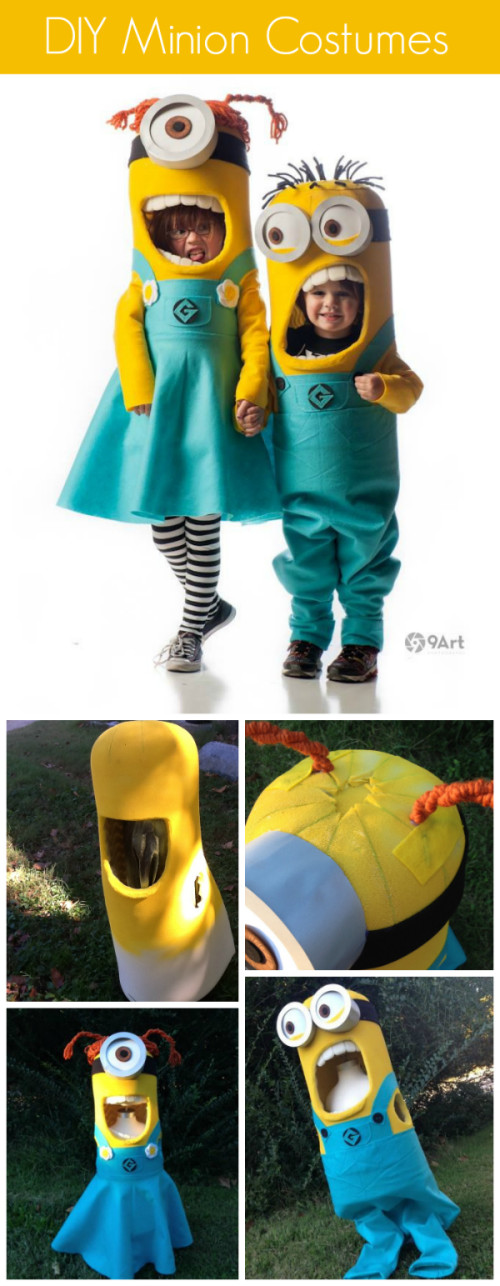
I just got to see the Minion movie this weekend (laugh-out-loud-adorable, by the way) and thought I’d share this epic Minion Halloween Costume tutorial with you all. Linda from Craftaholics Anonymous posted this one a couple of years ago, but given the recent movie, I imagine Minions will be super popular this year. Plus, I think it’d be pretty easy to adapt these patterns to adult sizes, if you’re of the adventurous type.
For more Minion-related goodies, check out The Costume Wrangler’s Geek Crafts Pinterest Board! And don’t forget to share your awesome Minion creations with the Geek Crafts family!
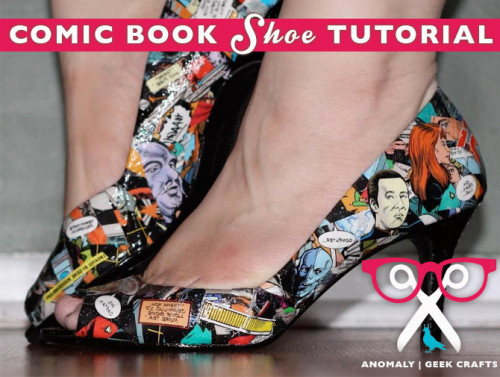
I’ve seen quite a few tutorials on decoupaging shoes, but this one is really good. I found it on Anomaly Geek Girl Podcasts and Blog (a site well worth investigating!). It’ll take you step-by-step through the process, complete with pictures. And the results are pretty awesome. Just imagine, you could have comic book shoes for every fandom!
Want another idea for up-cycling shoes into geek-tastic awesomeness? This tutorial is all about making your own glittery Police Box shoes! Look below for more fun links, and be sure to share your incredible comic book shoe creations.
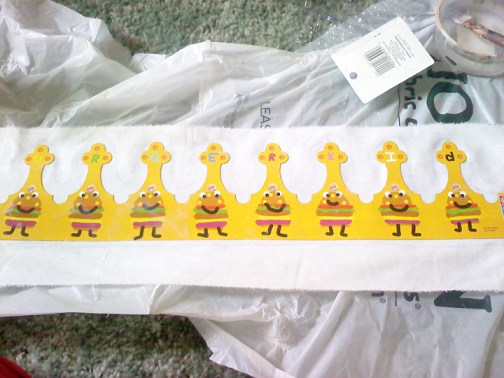
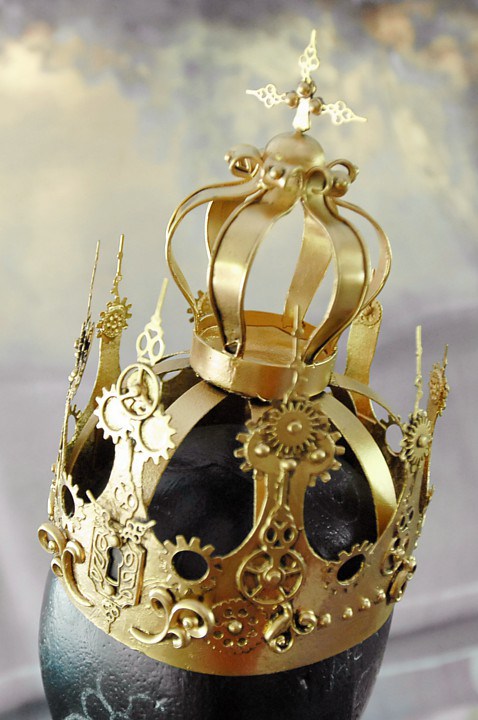
Wait a minute. That’s a Burger King crown! Not a steampunk crown!
No worries, people. Tyson Vick, a costume designer and photographer, has got the coolest tutorial on making that cheesy Burger King Crown into one spectacular steampunk work of wearable art. Just take a look at the final piece!
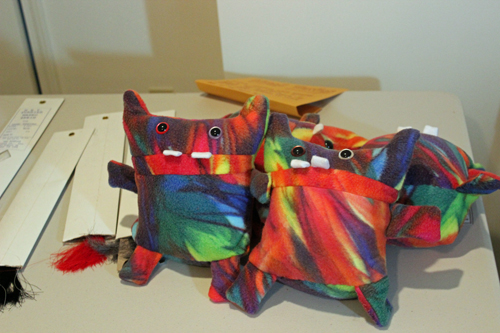
A Monster to Love is this great online shop where, for every cute little monster doll you buy, Sam, Ben, and their dad Ray, donate a monster doll to a kid in need. They partner up with children’s hospitals and even the World Relief Refugee program out of Atlanta.
I ran across their awesome work about a year ago on Craftsy, including a pattern to make your own monsters to donate to local kids in need, or send off to Ray and his boys in Colorado so they can donate the cuddly little monsters to kids in need.
I try to organize a Monster Making Party at least once or twice a year–they’re fun, and pretty easy to do. Here’s how:
1. I buy a couple yards of fun colored fleece fabric when it’s on sale (usually in the summer). You can get quite a lot of monsters out of a yard of fleece, or even half a yard. Just be sure to shop when it’s on sale! Along with fabric, I’ll pick up a box of stuffing when it’s on sale too (or with a coupon). One box can last a long while and stuff a lot of monsters (probably around 30). I’ll also purchase Safety Eyes for the dolls, which can be attached before sewing, and don’t require any sewing knowledge to install. I purchased my Safety Eyes here, but there are tons of vendors and craft stores out there that sell them. The 18mm sized ones are what I used, and I liked to mix and match colors too. 15 pairs of eyes cost about $15. You can also use buttons for the eyes, but make sure they are SEWN on really well. If the eyes are not sewn on securely, Ray and his boys can’t use them. Do not glue on eyes. Ray and his boys can’t use the monster dolls if the eyes have only been glued on (hello choking hazards!).
All in all, I spent about $40 on supplies for making the monsters, but I did it over the course of a couple of months.
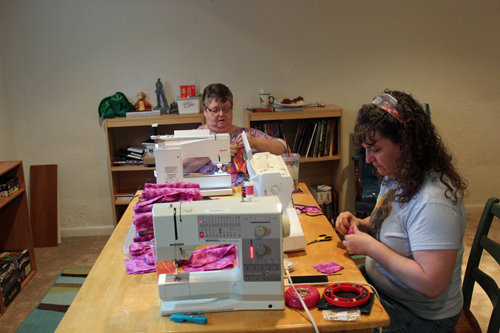
Angie brought her own sewing machine and helped build a couple monsters. That’s my mom in the background stitching away madly.
2. I set up a FB event and ask folks to bring their own sewing machines if they’ve got them, but I also tell folks that there’s plenty of other ways to help too: attaching eyes, stuffing, cuddle testing, and hand stitching are great ways to get even the most novice of crafters involved in a Monster Making Party. Along with the fabric, stuffing, and safety eyes, I also bring along thread, scissors, and hand sewing needles for people to use. If you’re worried about materials cost, you can always ask people to pitch in a couple bucks to help out.
3. I cut out at least some monsters before the party so there are dolls ready to be sewn. I also set up stations for people to work at installing eyes, stuffing the monsters, and hand sewing the monsters closed after stuffing, and even cutting out more monsters if necessary.
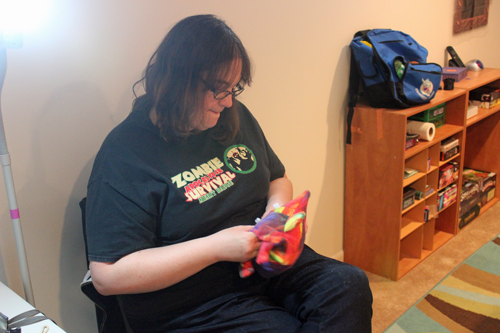
Here, my friend Chrystal is stuffing a monster.
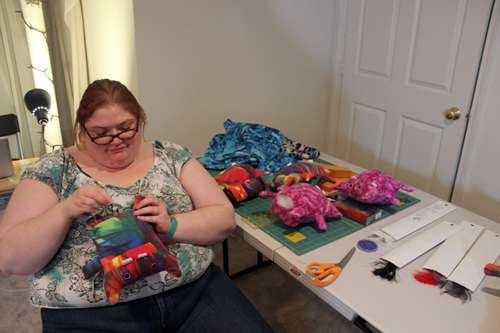
Eunice is hand sewing the monster closed.
4. We have music playing, and I ask folks to help out with some food (like chips and dip, cupcakes, and frosty beverages). And I invite folks to come when they can and stay as long as they’d like to. It’s a fun way to spend an afternoon or evening.
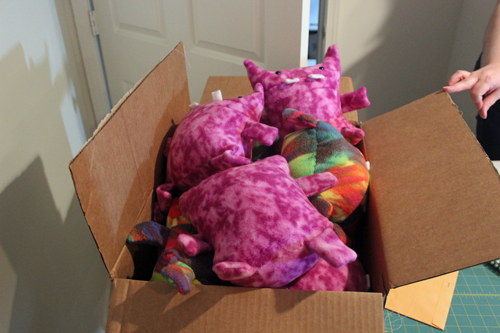
5. I’ve found three hours to be a great length of time for a Monster Making Party. You can get a lot done, have time to chat, and still steal a cupcake too. Once the party’s over, you’ll want to box up your magnificent creations and mail them off to A Monster to Love! Their address is on the last page of the PDF.
All our Monsters boxed up and ready to go!
If you have your own Monster Making Party, be sure to take pictures and share!!!
More Links of Interest
A Monster to Love: check out this great online shop and see where they’ll be selling their cute little monster dolls next!
Check out the story about A Monster to Love on Craftsy
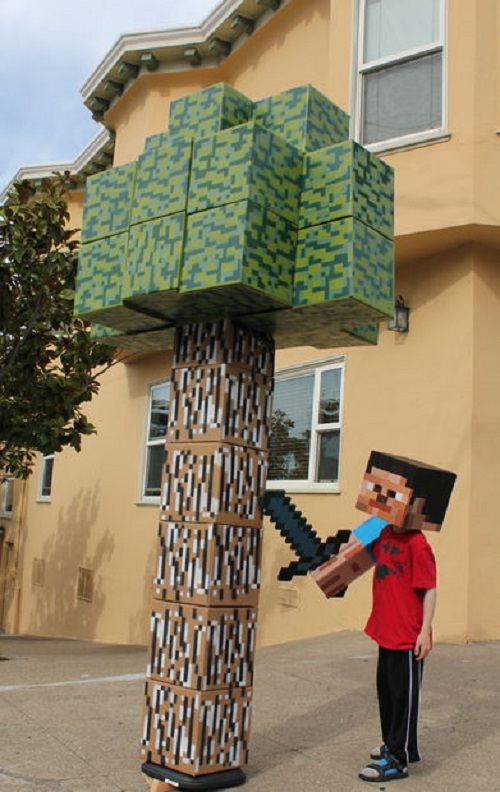
Today as I gazed out my living room window at the nice April spring afternoon SNOWSTORM in my front yard and resigned myself to an entire lifetime of winter weather, I found my thoughts wandering (trudging) to…Steve from Minecraft. Steve from Minecraft has all kinds of warm weather biomes to choose from. Steve from Minecraft can play in the snow, sure; but when he’s bored (or his feet start to go numb in his diamond boots (are diamond boots even warm?)) he can go to a desert, or a forest, or even a jungle. Steve from Minecraft can be standing in a snowy blizzard one second, and then take a step into a swamp biome and immediately find himself delicately wrapped in warm, balmy, humid rain. Not to mention Steve from Minecraft’s freshly-planted daisies that he got for his Easter party four days ago don’t take one look at the incoming north winds and promptly die in their planter. (At least, not in the XBox 360 version.) So why should Steve from Minecraft get everything?!?!
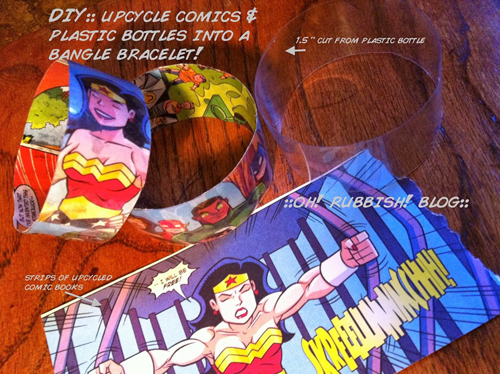
I have a friend who creates awesome jewelry by recycling old comics, which got me thinking . . . what else can a person make with old comics? That’s how I found this tutorial on Oh! Rubbish! Blog. It’s a super easy DIY, with great pictures. Plus, I’d bet magazines, newspapers, and old photos would probably work well with this idea too. Just think of the possibilities!