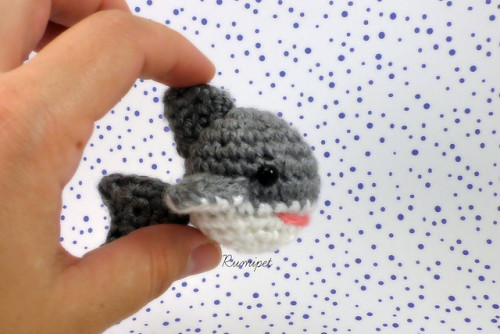
I’m a huge Sharknado fan, and with the fourth movie installment approaching, I thought I’d scrounge the internet for fun shark-themed DIYs to share. I found this adorable, cute Tiny Great White Shark amigirumi pattern on Ravelry. The pattern is designed by Kelly DeSandro, and you can download it for free! The instructions are very detailed and come with some great pictures too. Can you imagine a whole swirling sharknado of these little guys? Yes, please!
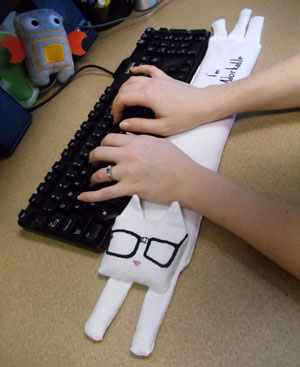
Looking for a Mother’s Day gift idea you can make yourself? How about this sweet Keyboard Cat from Urban Threads? The tutorial takes you step-by-step through making your keyboard wrist rest. They use two separate hand embroidery patterns (available for purchase, $1 each) to embellish the cat’s face (the glasses) and the front of the wrist rest (ehem . . . what I would say is the kitty’s posterior) with the words “I’m adorkable”. It’s a fun and simple project that is bound to be a hit with anyone, especially hard-working moms. The hand embroidery and stitching on this one is pretty simple, and I’d say it’s safe for any beginner to tackle. Plus, you could use just about any combination of fabric color and thread color too.
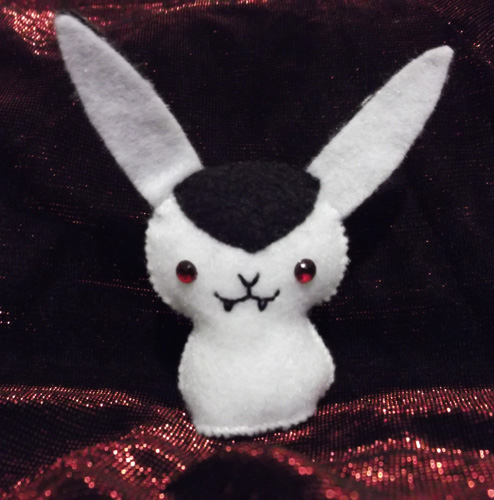
Just this weekend my younger brother tagged me on FB with an article about the children’s book series Bunnicula, including the news that a new cartoon is coming out. Since the Bunnicula series was one of my favorite books as a kid, I wondered if there were any crafters out there that had shared their love of the vegetable sucking vampire bunny. I found this cute little plushie by username road_baby on Craftgrrl – Where Crafters Unite! Adorable.
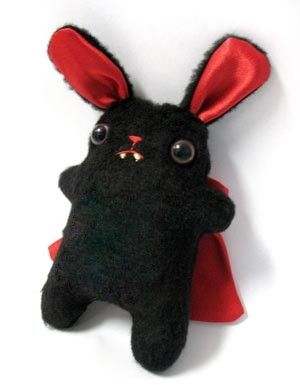
There’s no tutorial that goes along with this photo, but on Urban Threads I did find a bunny plushie pattern that could be adapted (or made as is, it’s delightfully cute and evil) to more resemble Bunnicula.
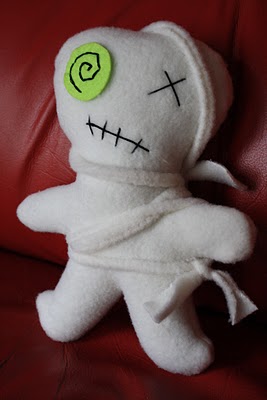
I just spent the weekend selling my handmade goodies at TopCon, a small pop-culture convention in Topeka, KS. One of the guests, Mike Mundy, was a zombie on The Walking Dead, so there was a lot of zombies hanging around this weekend. All those undead inspired me to share this great tutorial on making your own zombie plushie on the blog Heidi Boyd. This tutorial offers more inspiration than actual techniques, but if you’re familiar with basic hand sewing skills, you’ll have no problem making your little Zombie Plushie friend to hunt down brains with. You could even mix it up a bit and use different colored fleece, felt scraps, and embroidery floss. The tutorial offers up a great, basic starting point for your imagination to take over. Be sure to share your adventures in zombie making with us!
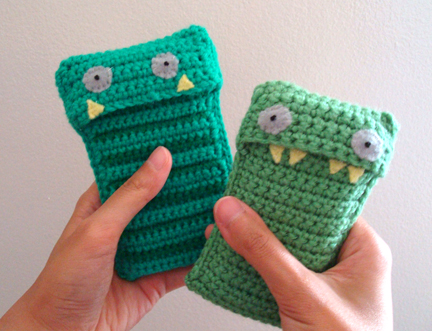
A Monster to Love is this great online shop where, for every cute little monster doll you buy, Sam, Ben, and their dad Ray, donate a monster doll to a kid in need. They partner up with children’s hospitals and even the World Relief Refugee program out of Atlanta.
I ran across their awesome work about a year ago on Craftsy, including a pattern to make your own monsters to donate to local kids in need, or send off to Ray and his boys in Colorado so they can donate the cuddly little monsters to kids in need.
I try to organize a Monster Making Party at least once or twice a year–they’re fun, and pretty easy to do. Here’s how:
1. I buy a couple yards of fun colored fleece fabric when it’s on sale (usually in the summer). You can get quite a lot of monsters out of a yard of fleece, or even half a yard. Just be sure to shop when it’s on sale! Along with fabric, I’ll pick up a box of stuffing when it’s on sale too (or with a coupon). One box can last a long while and stuff a lot of monsters (probably around 30). I’ll also purchase Safety Eyes for the dolls, which can be attached before sewing, and don’t require any sewing knowledge to install. I purchased my Safety Eyes here, but there are tons of vendors and craft stores out there that sell them. The 18mm sized ones are what I used, and I liked to mix and match colors too. 15 pairs of eyes cost about $15. You can also use buttons for the eyes, but make sure they are SEWN on really well. If the eyes are not sewn on securely, Ray and his boys can’t use them. Do not glue on eyes. Ray and his boys can’t use the monster dolls if the eyes have only been glued on (hello choking hazards!).
All in all, I spent about $40 on supplies for making the monsters, but I did it over the course of a couple of months.
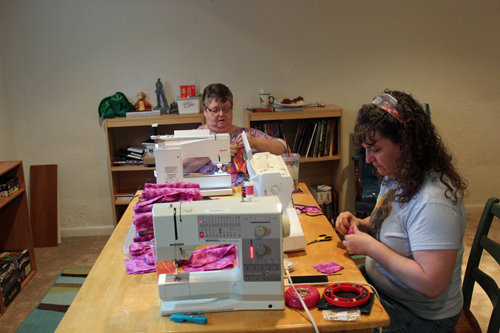
Angie brought her own sewing machine and helped build a couple monsters. That’s my mom in the background stitching away madly.
2. I set up a FB event and ask folks to bring their own sewing machines if they’ve got them, but I also tell folks that there’s plenty of other ways to help too: attaching eyes, stuffing, cuddle testing, and hand stitching are great ways to get even the most novice of crafters involved in a Monster Making Party. Along with the fabric, stuffing, and safety eyes, I also bring along thread, scissors, and hand sewing needles for people to use. If you’re worried about materials cost, you can always ask people to pitch in a couple bucks to help out.
3. I cut out at least some monsters before the party so there are dolls ready to be sewn. I also set up stations for people to work at installing eyes, stuffing the monsters, and hand sewing the monsters closed after stuffing, and even cutting out more monsters if necessary.
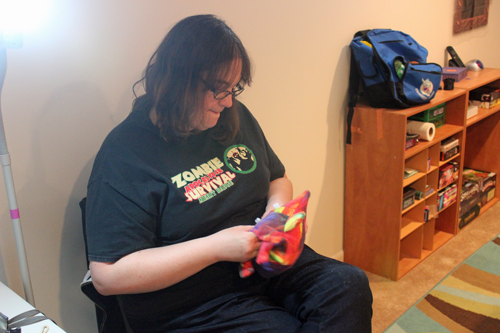
Here, my friend Chrystal is stuffing a monster.
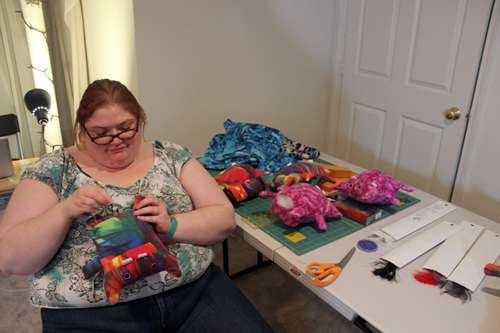
Eunice is hand sewing the monster closed.
4. We have music playing, and I ask folks to help out with some food (like chips and dip, cupcakes, and frosty beverages). And I invite folks to come when they can and stay as long as they’d like to. It’s a fun way to spend an afternoon or evening.
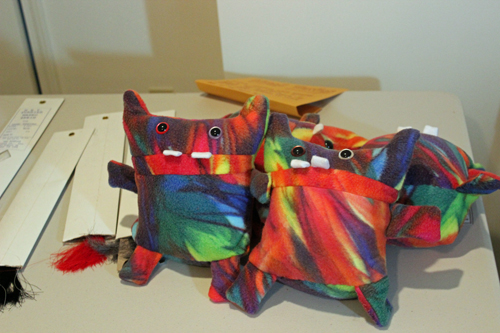
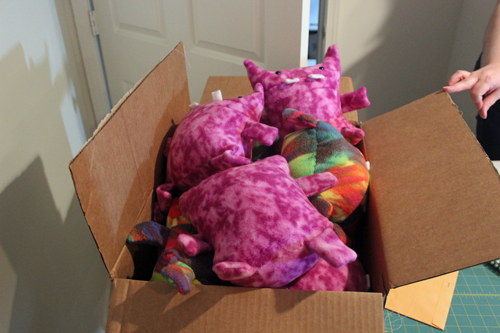
5. I’ve found three hours to be a great length of time for a Monster Making Party. You can get a lot done, have time to chat, and still steal a cupcake too. Once the party’s over, you’ll want to box up your magnificent creations and mail them off to A Monster to Love! Their address is on the last page of the PDF.
All our Monsters boxed up and ready to go!
If you have your own Monster Making Party, be sure to take pictures and share!!!
More Links of Interest
A Monster to Love: check out this great online shop and see where they’ll be selling their cute little monster dolls next!
Check out the story about A Monster to Love on Craftsy